
Choose how your flow starts
Every flow begins with a trigger: the thing that sets it off. Pick the right one and your flow runs by itself at exactly the right moment.
- You will
- Know which trigger fits your job, and how to set up the common ones
- Time
- About 12 minutes
- You need
- A flow to add a trigger to; any flow will do
01Which trigger?
Triggers are steps like any other: click Add Node and find them under Building blocks›Triggers, or search by name.
| If the job should run… | Use |
|---|---|
| When you say so | Manual Trigger |
| At set times, like every weekday at 9am | Schedule Trigger |
| When someone fills in a form | Form Trigger |
| When another system sends Flomation a message | Webhook Trigger |
| When someone scans a code, on a poster or at a desk | QR Code Trigger |
| When something happens in another app, like a booking in Calendly or a new email in Gmail | That app's trigger |
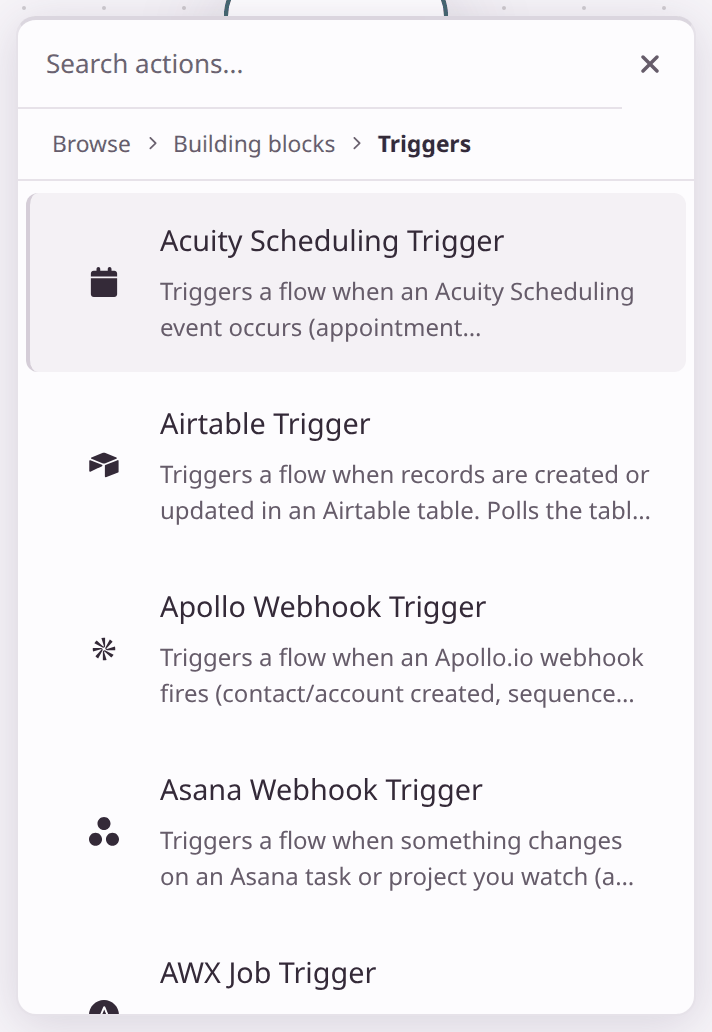
Every new flow starts with a Manual Trigger. Keep it while you build, so the flow only runs when you say. Add the real trigger once everything works.
02Run it yourself: Manual Trigger
The Manual Trigger runs the flow when you click Execute Flo in the editor, or the play button next to the flow on the Flows page.
It can also ask for information each time. Click the Manual Trigger, then + Add Input, and fill in:
- A name such as
customer_name. Later steps use this name. - A type: Text, Number, Checkbox, Multiline Text, Date or Dropdown.
- A label for people to read, an optional hint and default, and whether it's Required.
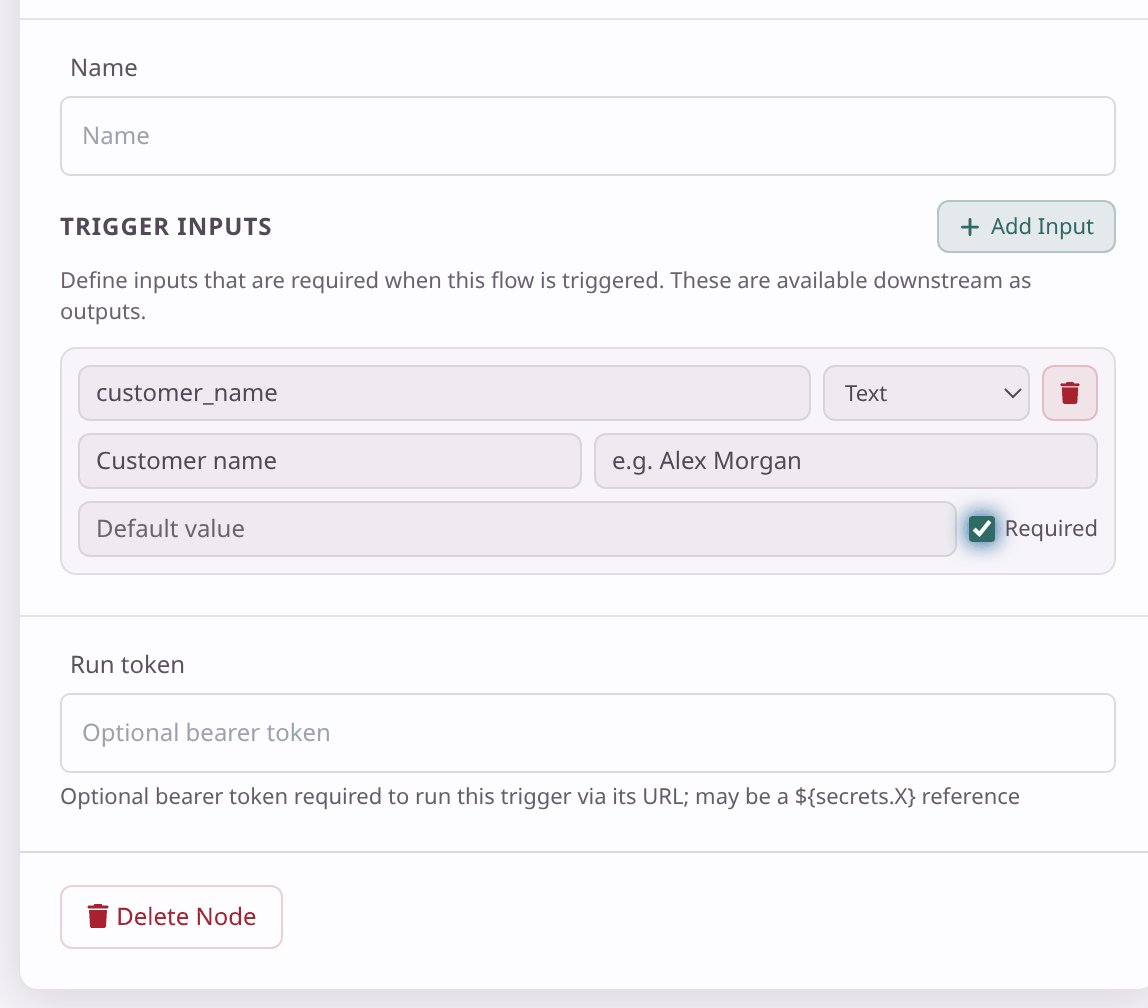
customer_name.Now, when you click Execute Flo, Flomation asks for those values before it runs:
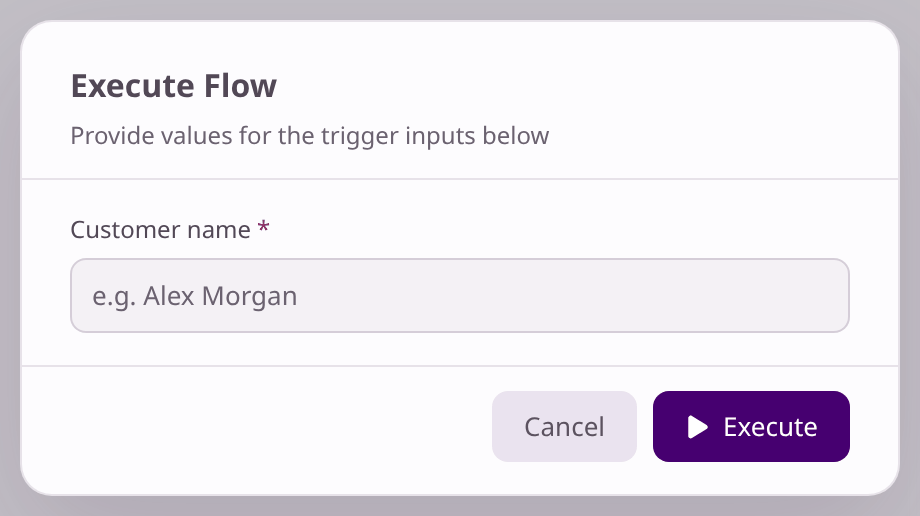
Each input is then available to the steps after the trigger, under its name, in the $ list. A flow can have only one Manual Trigger.
03On a schedule: Schedule Trigger
Runs the flow at the times you choose, with no one needing to be there.
Choose a Schedule Mode, then fill in the fields it shows:
| Schedule Mode | For example | You also set |
|---|---|---|
| Every interval | Every 15 minutes | Interval and Unit (Minutes, Hours or Days) |
| Daily at a specific time | Every day at 07:30 | Time of Day |
| Weekly on specific days | Weekdays at 09:00 | Time of Day, Days of Week |
| Monthly on specific dates | The 1st and 15th of each month | Time of Day, Dates of Month (including Last day of month) |
| Monthly on a weekday | The last Friday of each month | Time of Day, Which Week, Weekday |
| Yearly on a date | Every 1 April | Time of Day, Month, Day of Month |
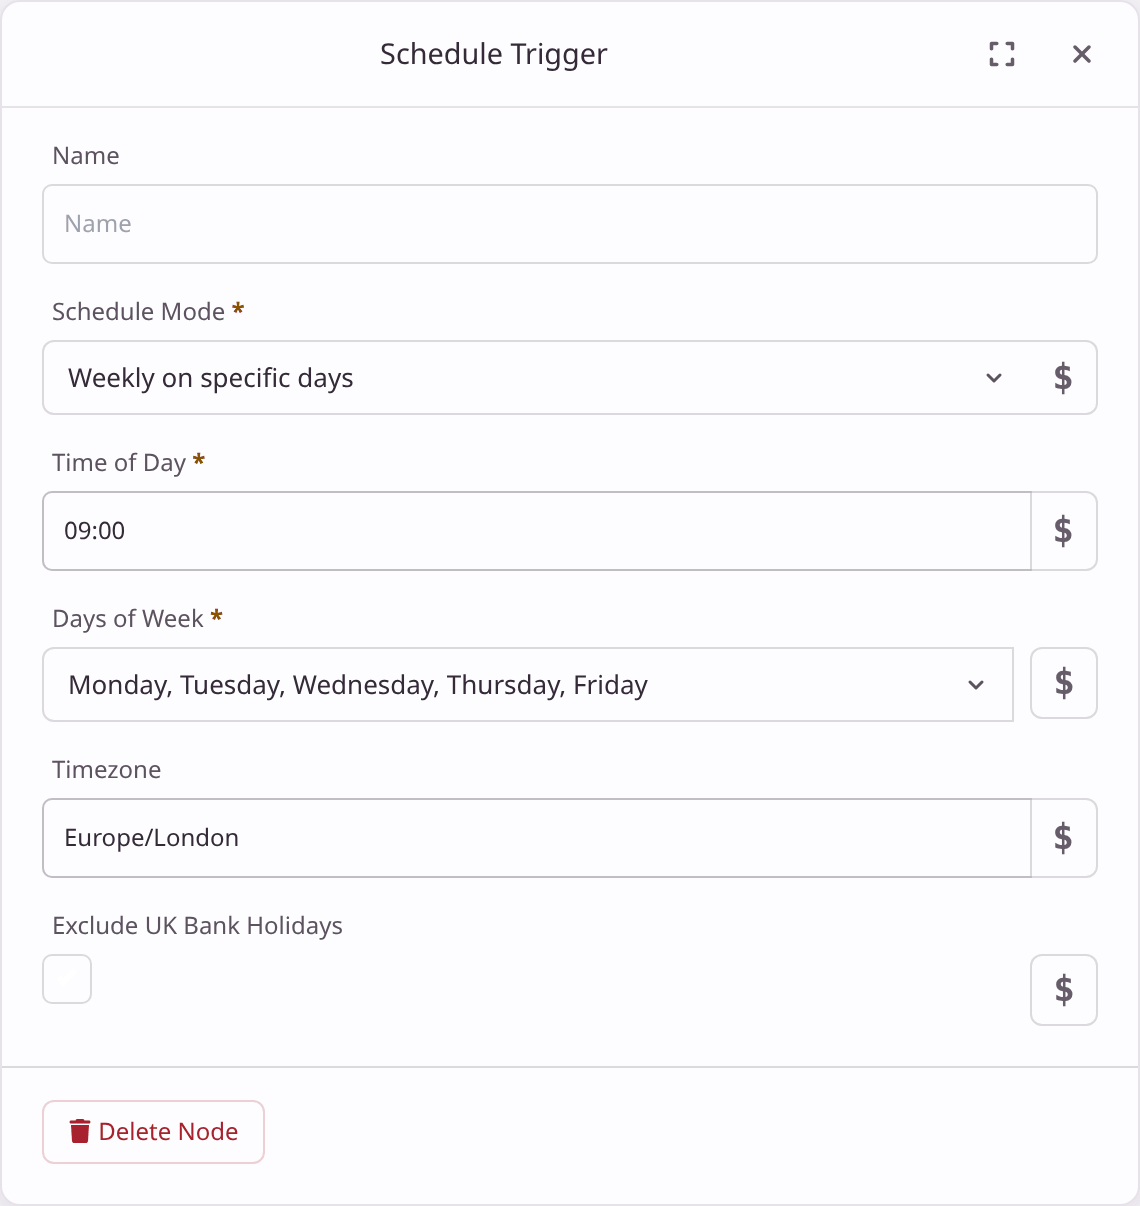
- Time of Day uses the 24-hour clock:
09:00,17:30. - Always fill in Timezone, for example
Europe/London. Without it, times follow the server's clock, not yours. - Exclude UK Bank Holidays skips bank holidays in England and Wales.
- For Every interval, choose a Unit too. Without one, the schedule never runs.
There's no on/off switch. The first run is at the next matching time; for Every interval, one interval after you save. To stop a schedule, delete the Schedule Trigger step, or the whole flow.
04From a form: Form Trigger
Flomation hosts the form for you. Build its fields in the trigger, then share its Trigger URL. Build your first flow walks through one from start to finish.
Two settings worth knowing:
- After submission sets the button text and what happens next: show a thank-you message, reset the form for another response, or send people to a web page of your choice.
- Require login only lets signed-in Flomation users view and submit the form. Leave it off for public forms.
05From a web address: Webhook Trigger
Gives your flow its own web address. Anything that calls that address, such as another app or a script, starts the flow.
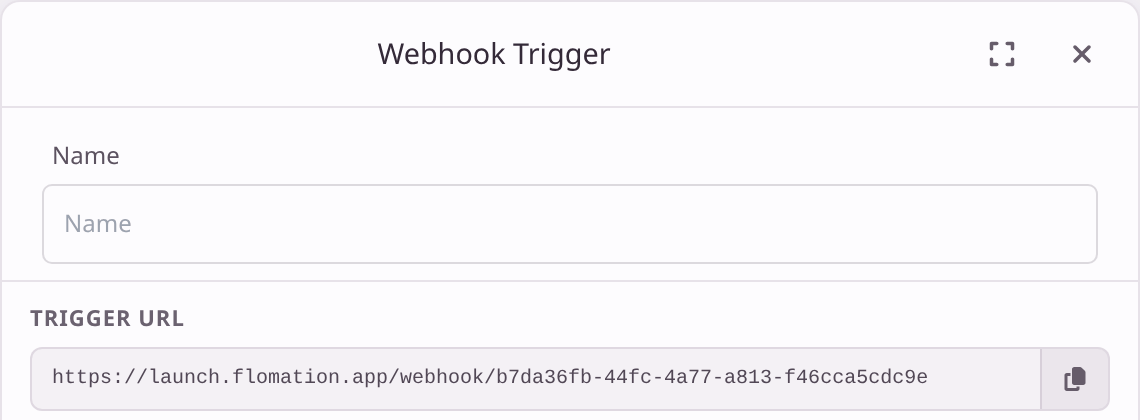
- Paste the Trigger URL into the other system, usually in a setting called webhook or notification URL.
- If it sends data in JSON format, each top-level field becomes a value your later steps can use.
- Flomation replies straight away and runs the flow in the background.
A Webhook Trigger has no password: anyone who knows its address can start your flow. Only share it with the system that needs it.
Need the caller to get an answer back, like a small web service? That's the Web Trigger, used with a Web Response step at the end. It's an advanced feature, set up with the Embed SDK or Gateway pages.
06From a QR code: QR Code Trigger
Shows a QR code in the trigger's settings. Anyone who scans it starts the flow: handy for check-ins, sign-in sheets and "tell us about a problem" posters.
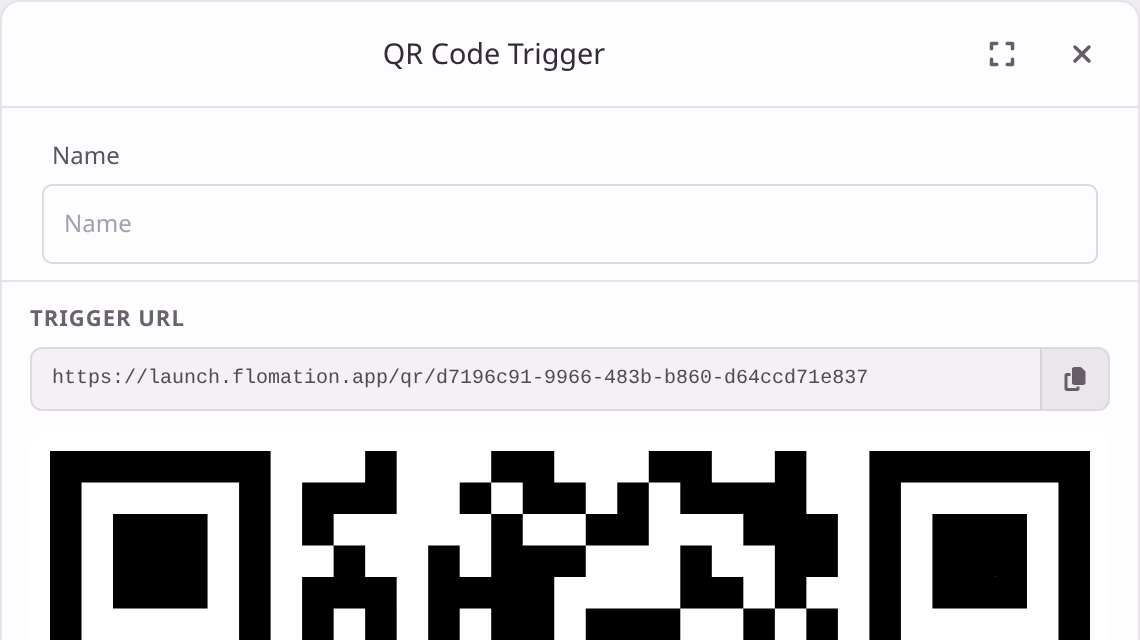
- To print it, copy the Trigger URL into any QR code maker, or take a screenshot of the code. There's no download button yet.
- When someone scans it, they see QR Code Scanned: Your request has been received, and the flow runs.
- The flow gets the time of the scan and the scanner's device details. It doesn't know who scanned it.
07When something happens in an app
Many apps have their own trigger, named after the app: Calendly Webhook Trigger, Zendesk Webhook Trigger, Email Trigger for Gmail, and many more. They start your flow when something happens there, such as a new booking, a new ticket or a new email.
How you set one up depends on the app:
- Flomation sets it up for you. For apps such as Calendly, Zendesk, Jira, Trello, Asana, Monday.com, Mailchimp and WooCommerce, fill in the trigger's connection and choose which events you want. Flomation registers itself with the app when the flow saves.
- You paste an address into the app. For some apps, such as GitHub, GitLab and Intercom, the trigger shows an address to paste into the app's webhook settings, often with instructions underneath.
- Flomation checks for you. Some triggers look for new items every so often instead: the Gmail Email Trigger checks about once a minute, and the Airtable Trigger checks a table on an interval.
Most app triggers' descriptions in Add Node say which kind they are. For the fields each one needs, see the integration reference.
The Gmail Email Trigger reads from the accounts connected in the trigger itself. Save the flow, open the trigger and use Add Email read Account to sign in to the mailbox it should watch.
08More than one trigger
A flow can have several triggers. For example, a form and a weekly schedule can start the same steps. A few rules:
- Only one Manual Trigger per flow.
- Don't add two triggers of the same kind, such as two Webhook Triggers. They'd share one address, and only the last one saved would work. Use two flows instead.
- Execute Flo runs the flow without real data when it has no Manual Trigger. It starts from another trigger with nothing in it, so a step that writes somewhere could add blank entries. Test such flows through their real trigger, like submitting the form.
09Next steps
Last checked against the app on .