
Build your first flow
Make a sign-up form that adds everyone who fills it in to a Google Sheet. You'll build it by clicking, not coding, and test it with a real form.
- You will
- Build a form that adds each sign-up to a Google Sheet
- Time
- About 15 minutes
- You need
- A Flomation account and a Google account
01Before you start
Make the spreadsheet the flow will write to, and note down two things about it.
-
Create a Google Sheet
In Google Sheets, create a new spreadsheet called Sign-ups. In the first row, type the headings Name, Email and Signed up in columns A, B and C.
-
Copy its ID from the link
Look at the address bar. The spreadsheet's ID is the long code between
/d/and/edit. Copy just that part:
https://docs.google.com/spreadsheets/d/1aBcD2eFgH3iJkL4mNoP5qRsT6uVwX7yZ8example/editAlso check the name of the tab at the bottom of the sheet. For a new spreadsheet it's Sheet1.
02Create the flow
Find it: Automate›Flows
-
Start a new flow
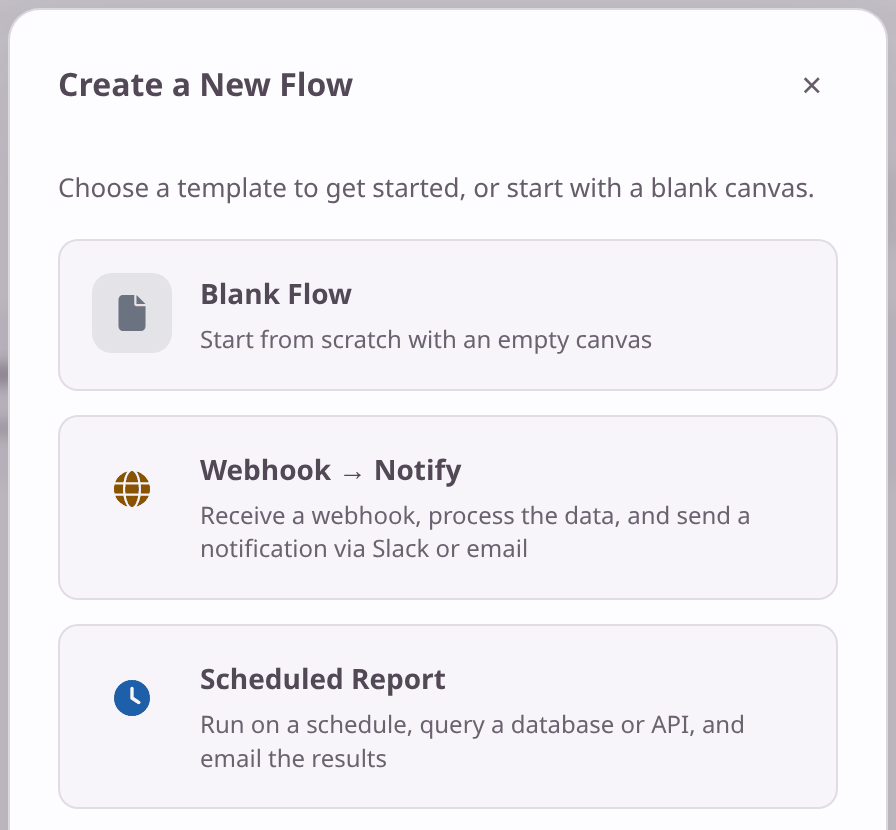
Open Flows, click New, then choose Blank Flow. The editor opens.
-
Give it a name
Click Untitled Flo at the top left and type New sign-ups to Google Sheets.
The editor saves as you work, so there's no Save button. New flows start with a Manual Trigger on the canvas. You'll swap it for a form in the next section.
03Add a form
The form is the trigger: each time someone submits it, the flow runs.
-
Add the Form Trigger
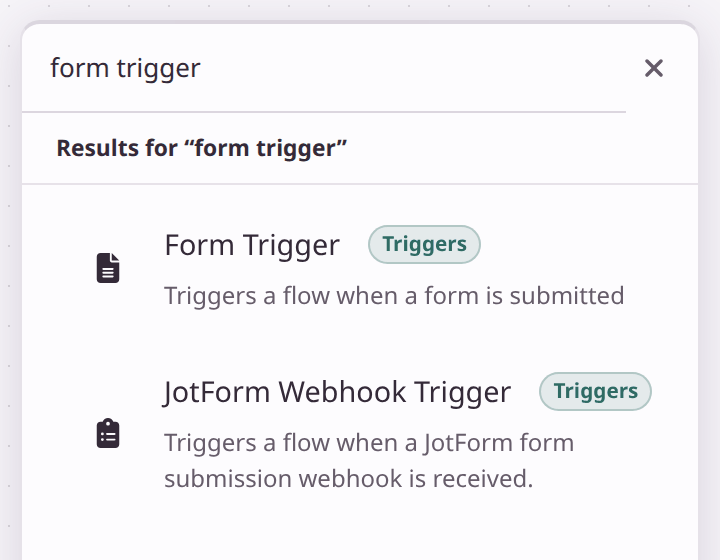
Click Add Node, type form trigger, and click Form Trigger.
-
Remove the Manual Trigger
This flow starts from the form, so you don't need it. Click the Manual Trigger, then click Delete Node at the bottom of its settings.
-
Name the form
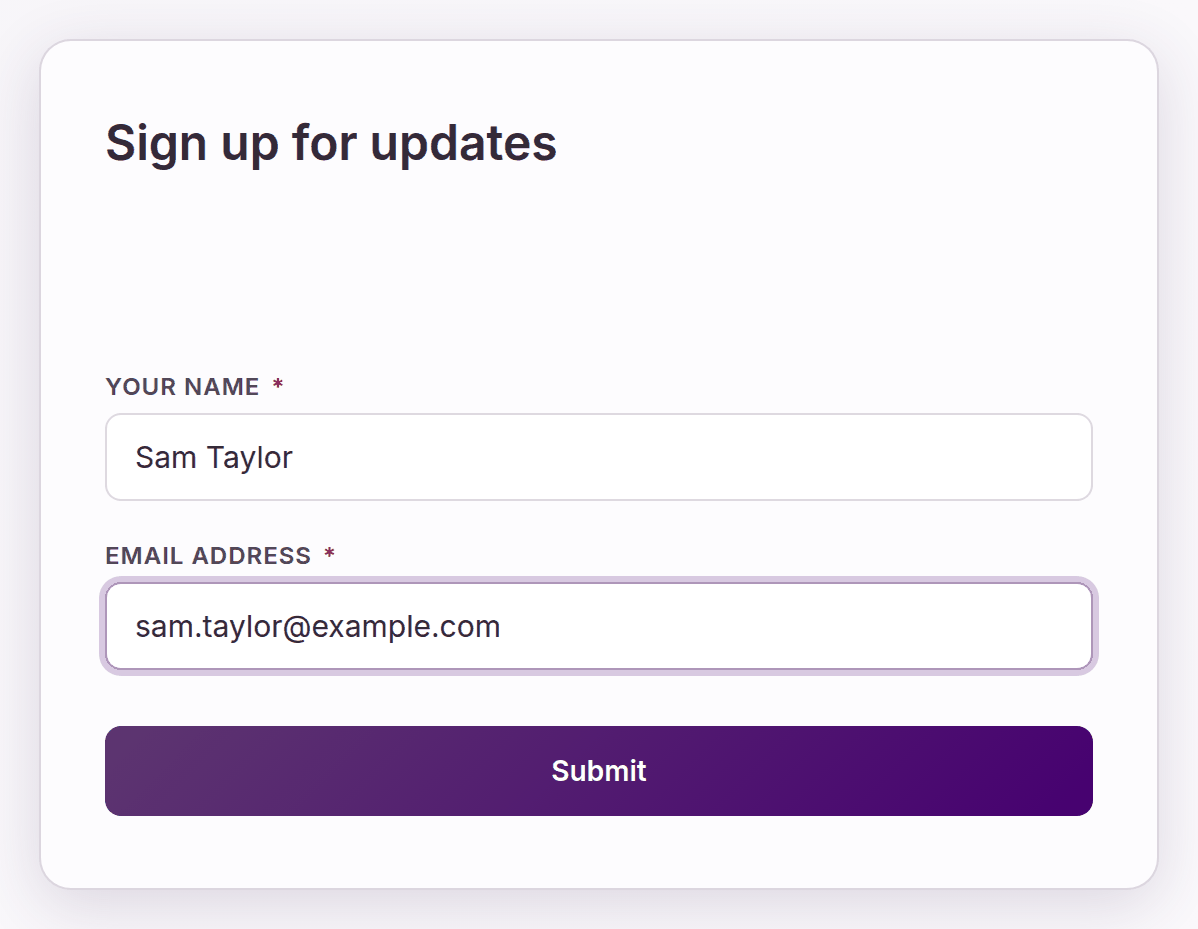
Click the Form Trigger to open its settings. Under Form title, type Sign up for updates. This is the heading people see.
-
Add a name field
Click Add Field and choose Text. Set the Label to Your name and switch on Required.
-
Add an email field
Click Add Field again and choose Email. Set the Label to Email address and switch on Required.
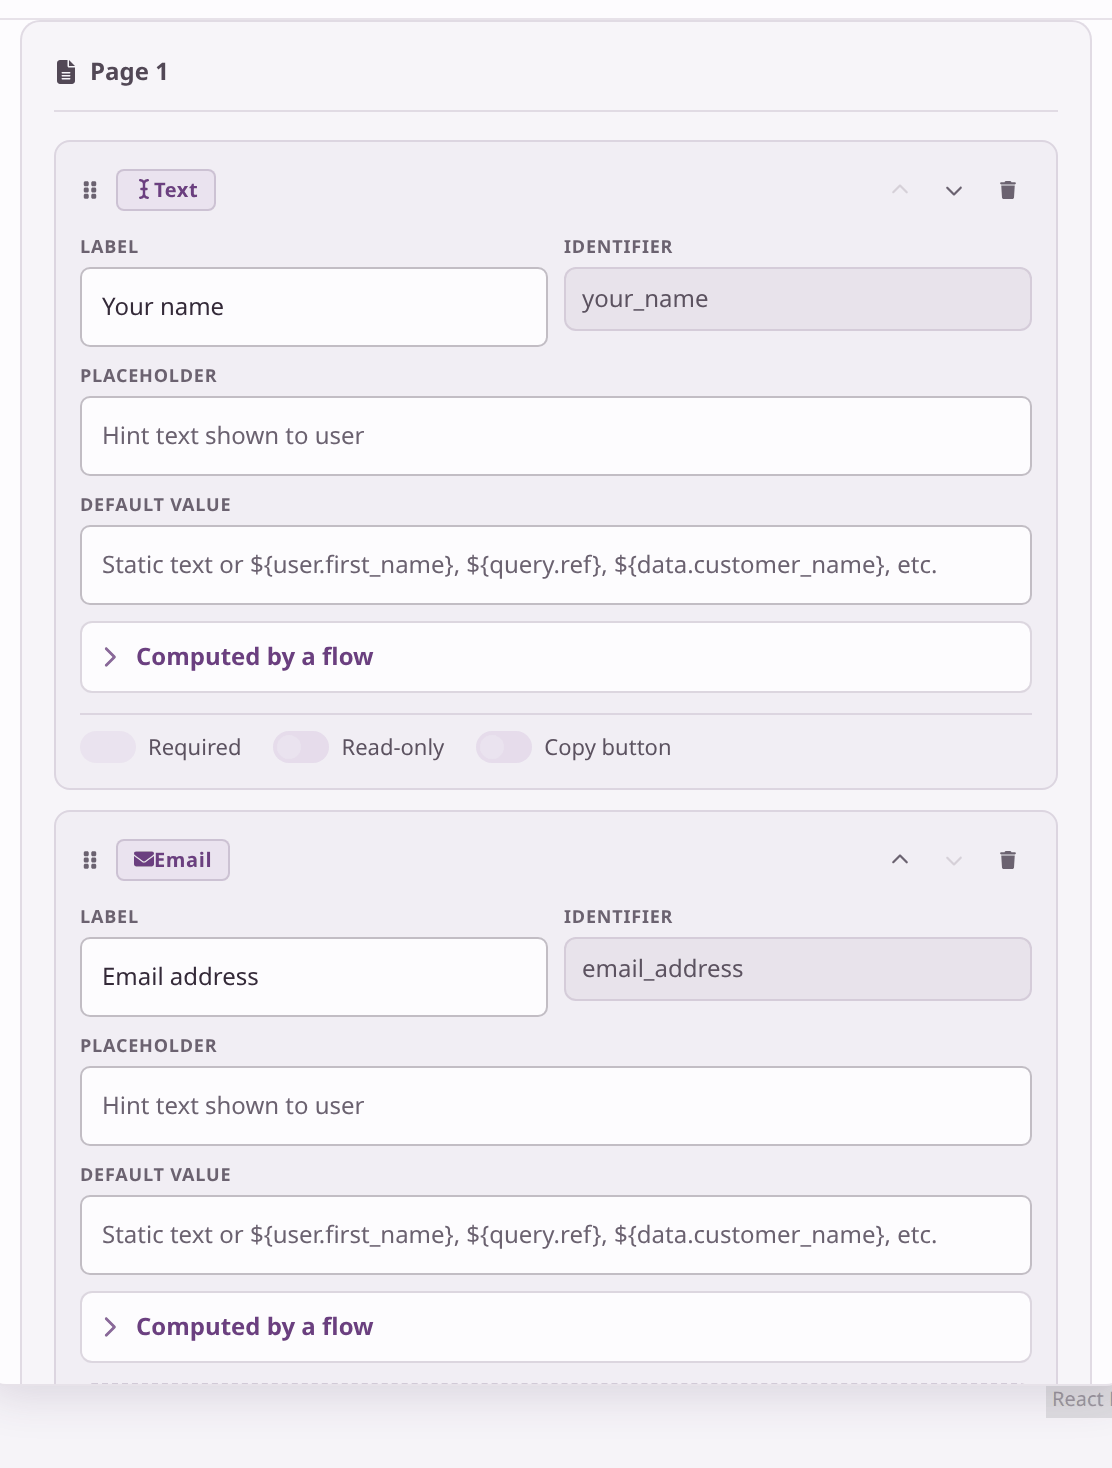
It's the name the rest of your flow uses for that answer, and it fills itself in from the label: your_name and email_address. You'll pick these later to put the answers into your sheet.
Scroll to the bottom of the Form Trigger's settings. The Trigger URL is your form's own web address. You'll open it to test the flow at the end.

04Connect your Google account
Find it: Configure›Environments
To let the flow add rows to your sheet, you connect your Google account once. Flomation keeps the connection in an environment, away from the flow itself.
-
Create an environment
Open Environments and click Create Environment. Call it Live and click Create. Then click Live to open it.
-
Add a Google credential
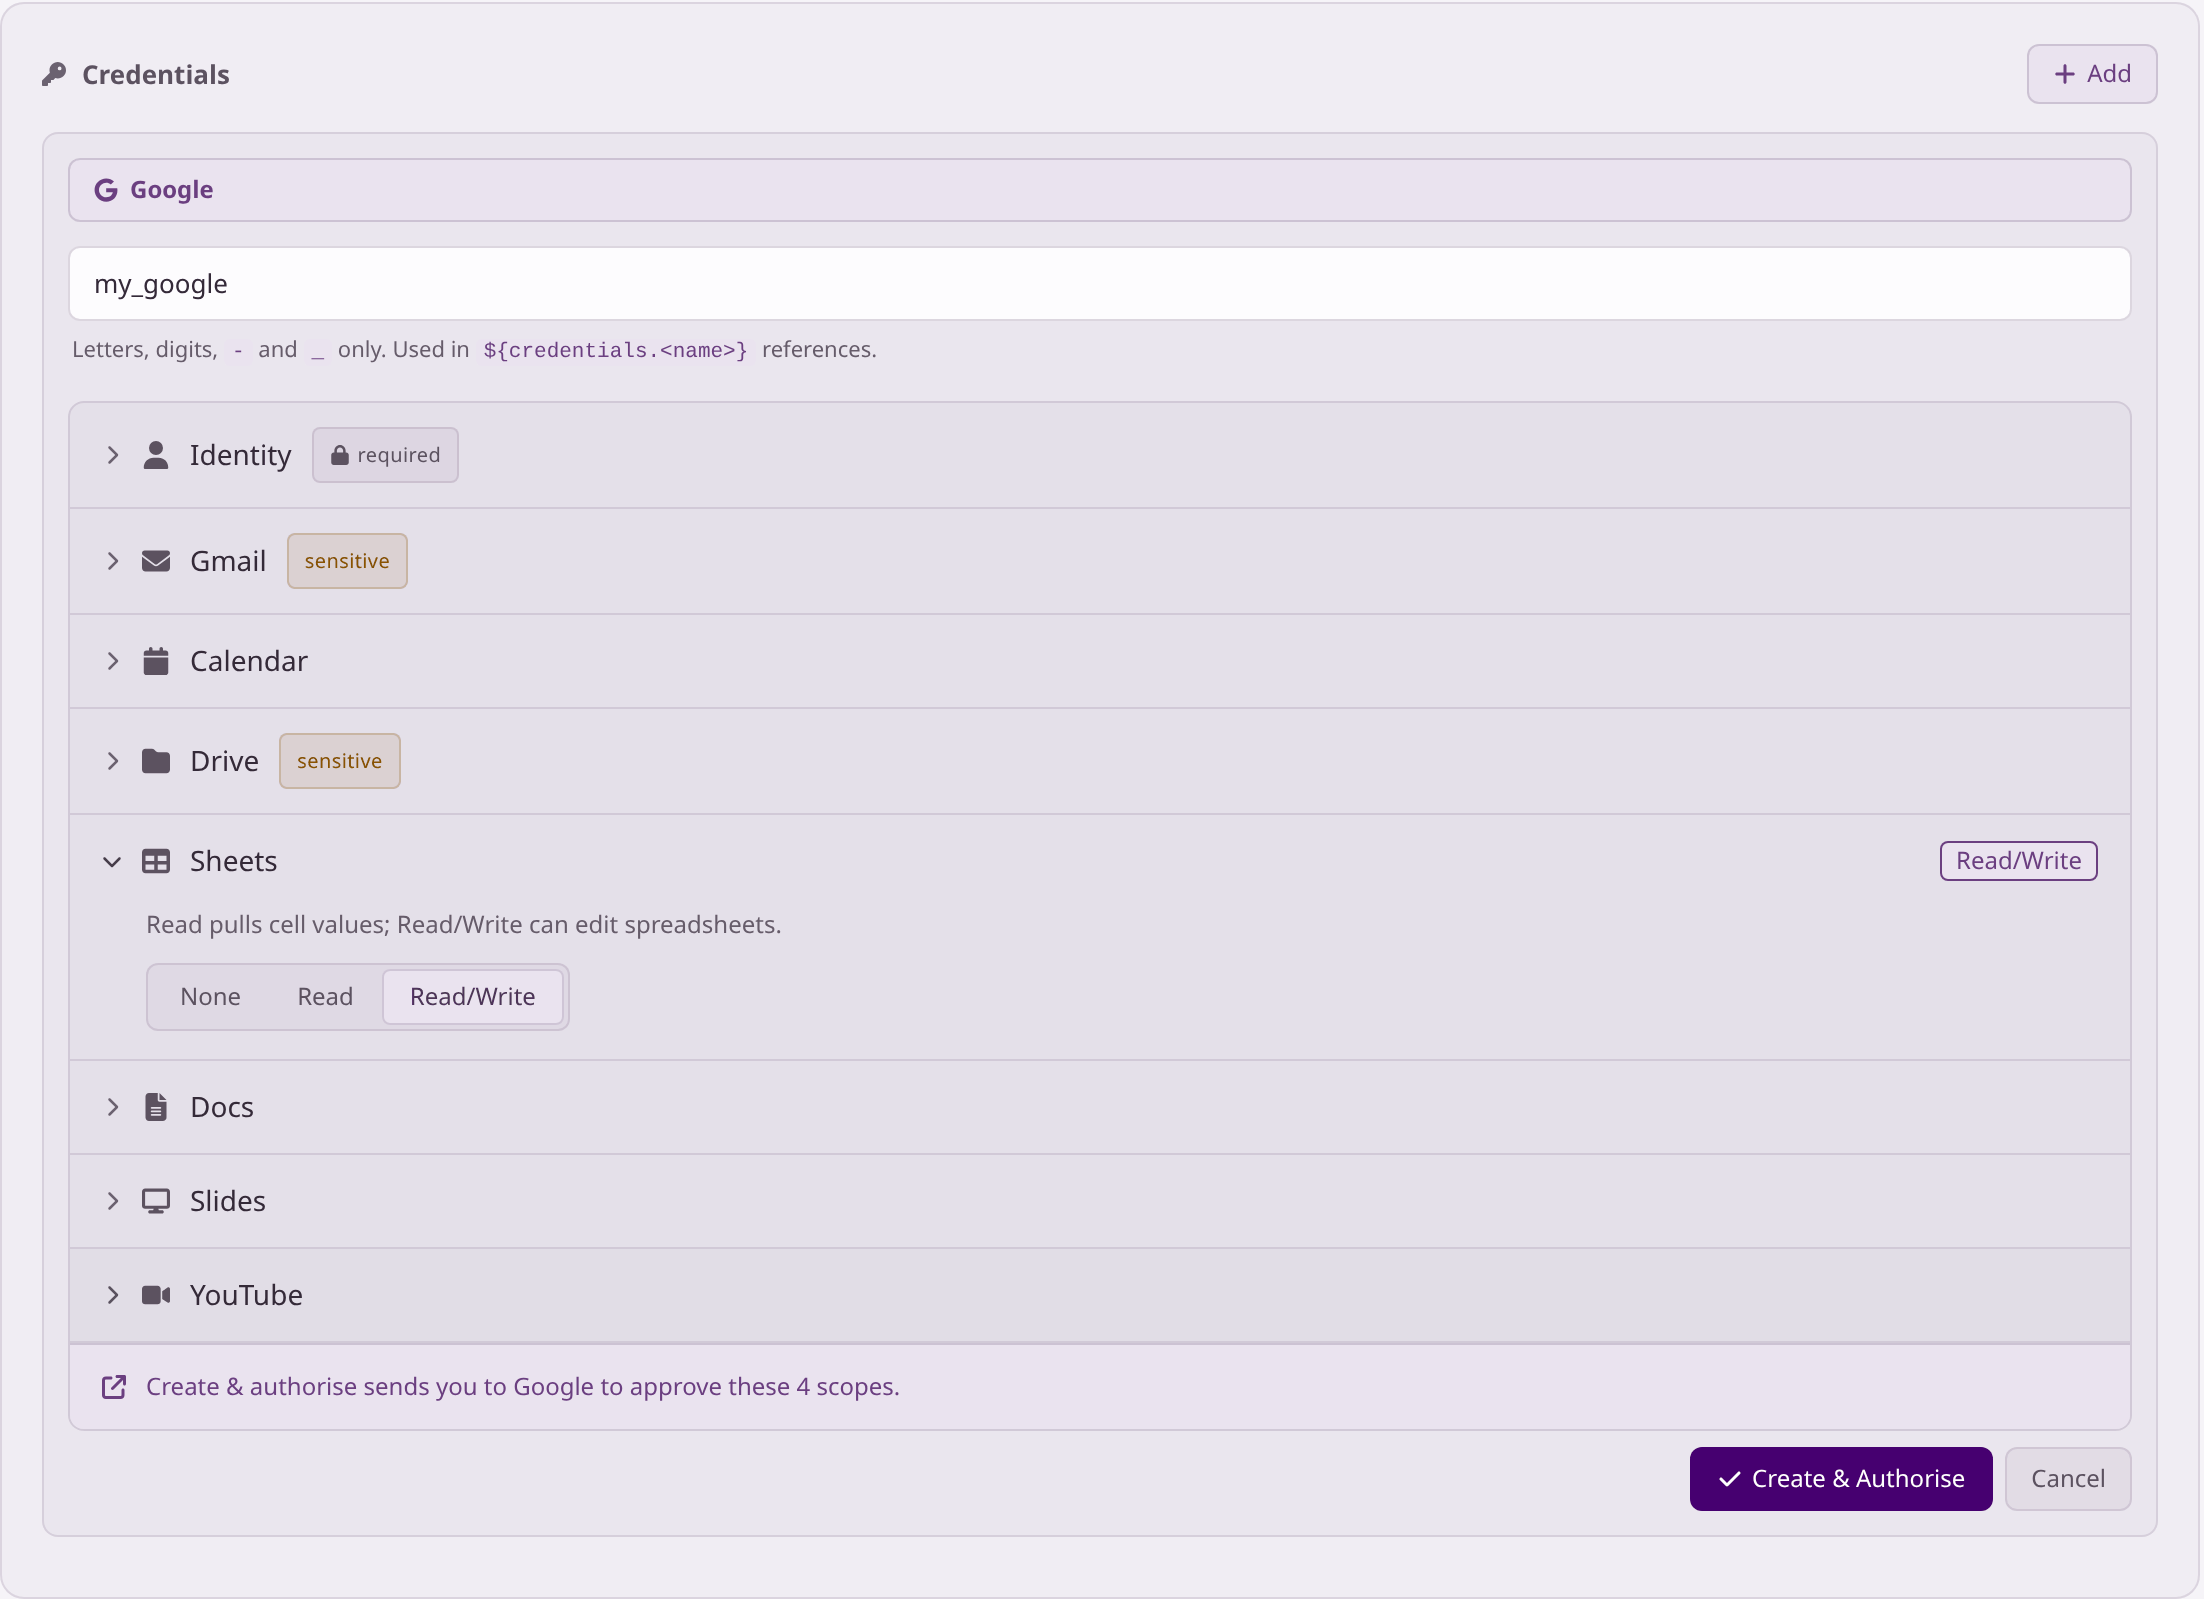
Open the Credentials tab, click Add and choose Google.
-
Name it and choose what it can do
Type the name
my_google. Click Sheets and choose Read/Write, so the flow can add rows. Leave everything else as it is. -
Sign in to Google
Click Create & Authorise. Google opens in a pop-up: choose your account and allow access. When you're back in Flomation, the credential shows Active.
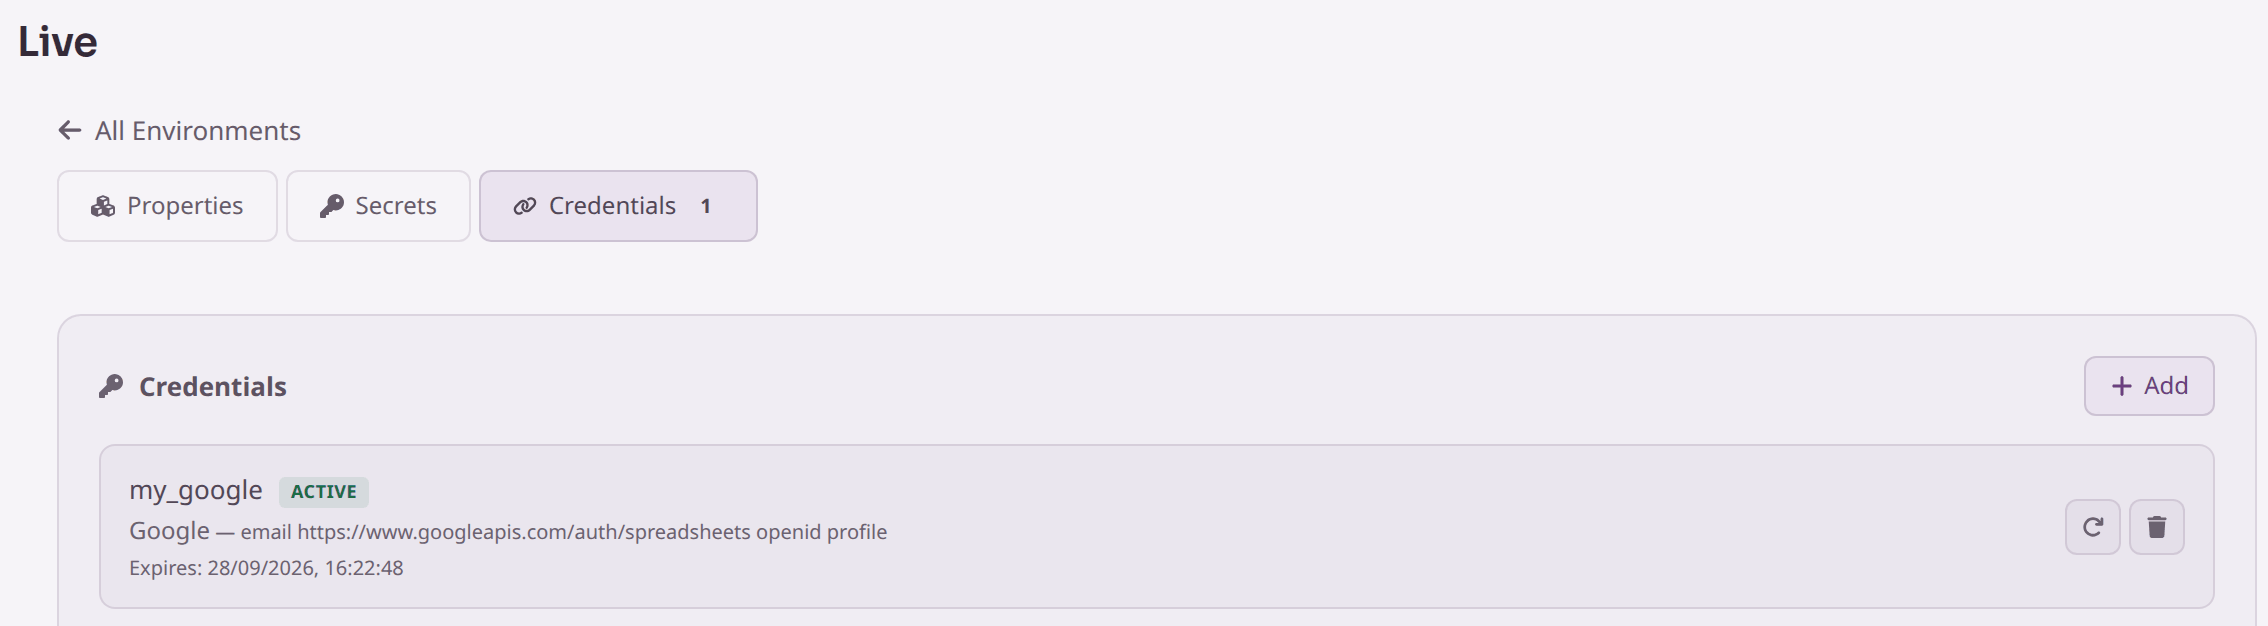
Your browser may have blocked it, and the credential stays Pending. Allow pop-ups for Flomation, then click the circular arrow on the credential's row to try again. If you did approve access but it still says Pending, reload the page.
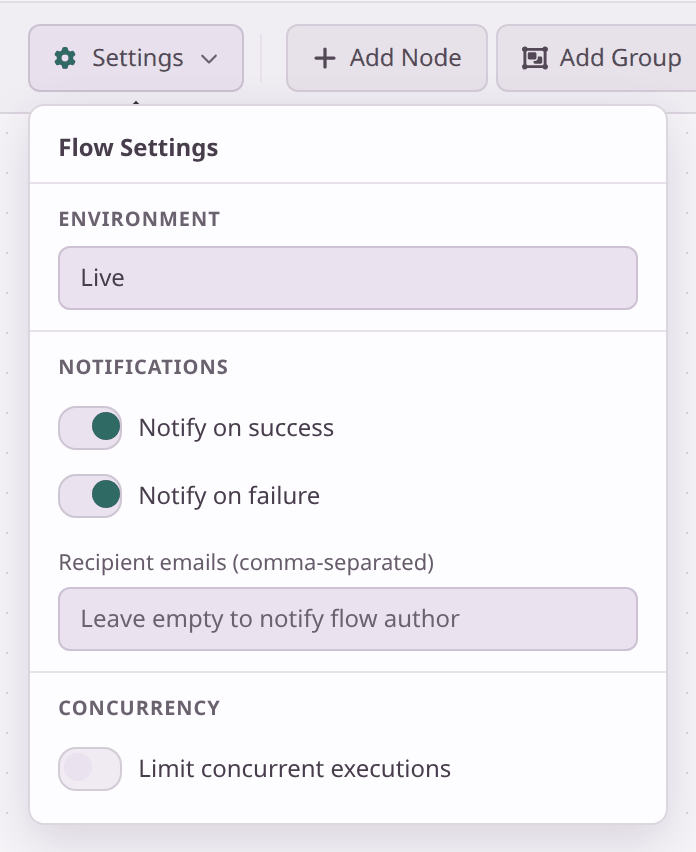
Now tell your flow to use this environment. Back in the editor, click Settings and, under Environment, choose Live.
05Add the Google Sheets step
-
Add Append to Sheet
Click Add Node, type append to sheet, and click Append to Sheet.
-
Connect the two steps
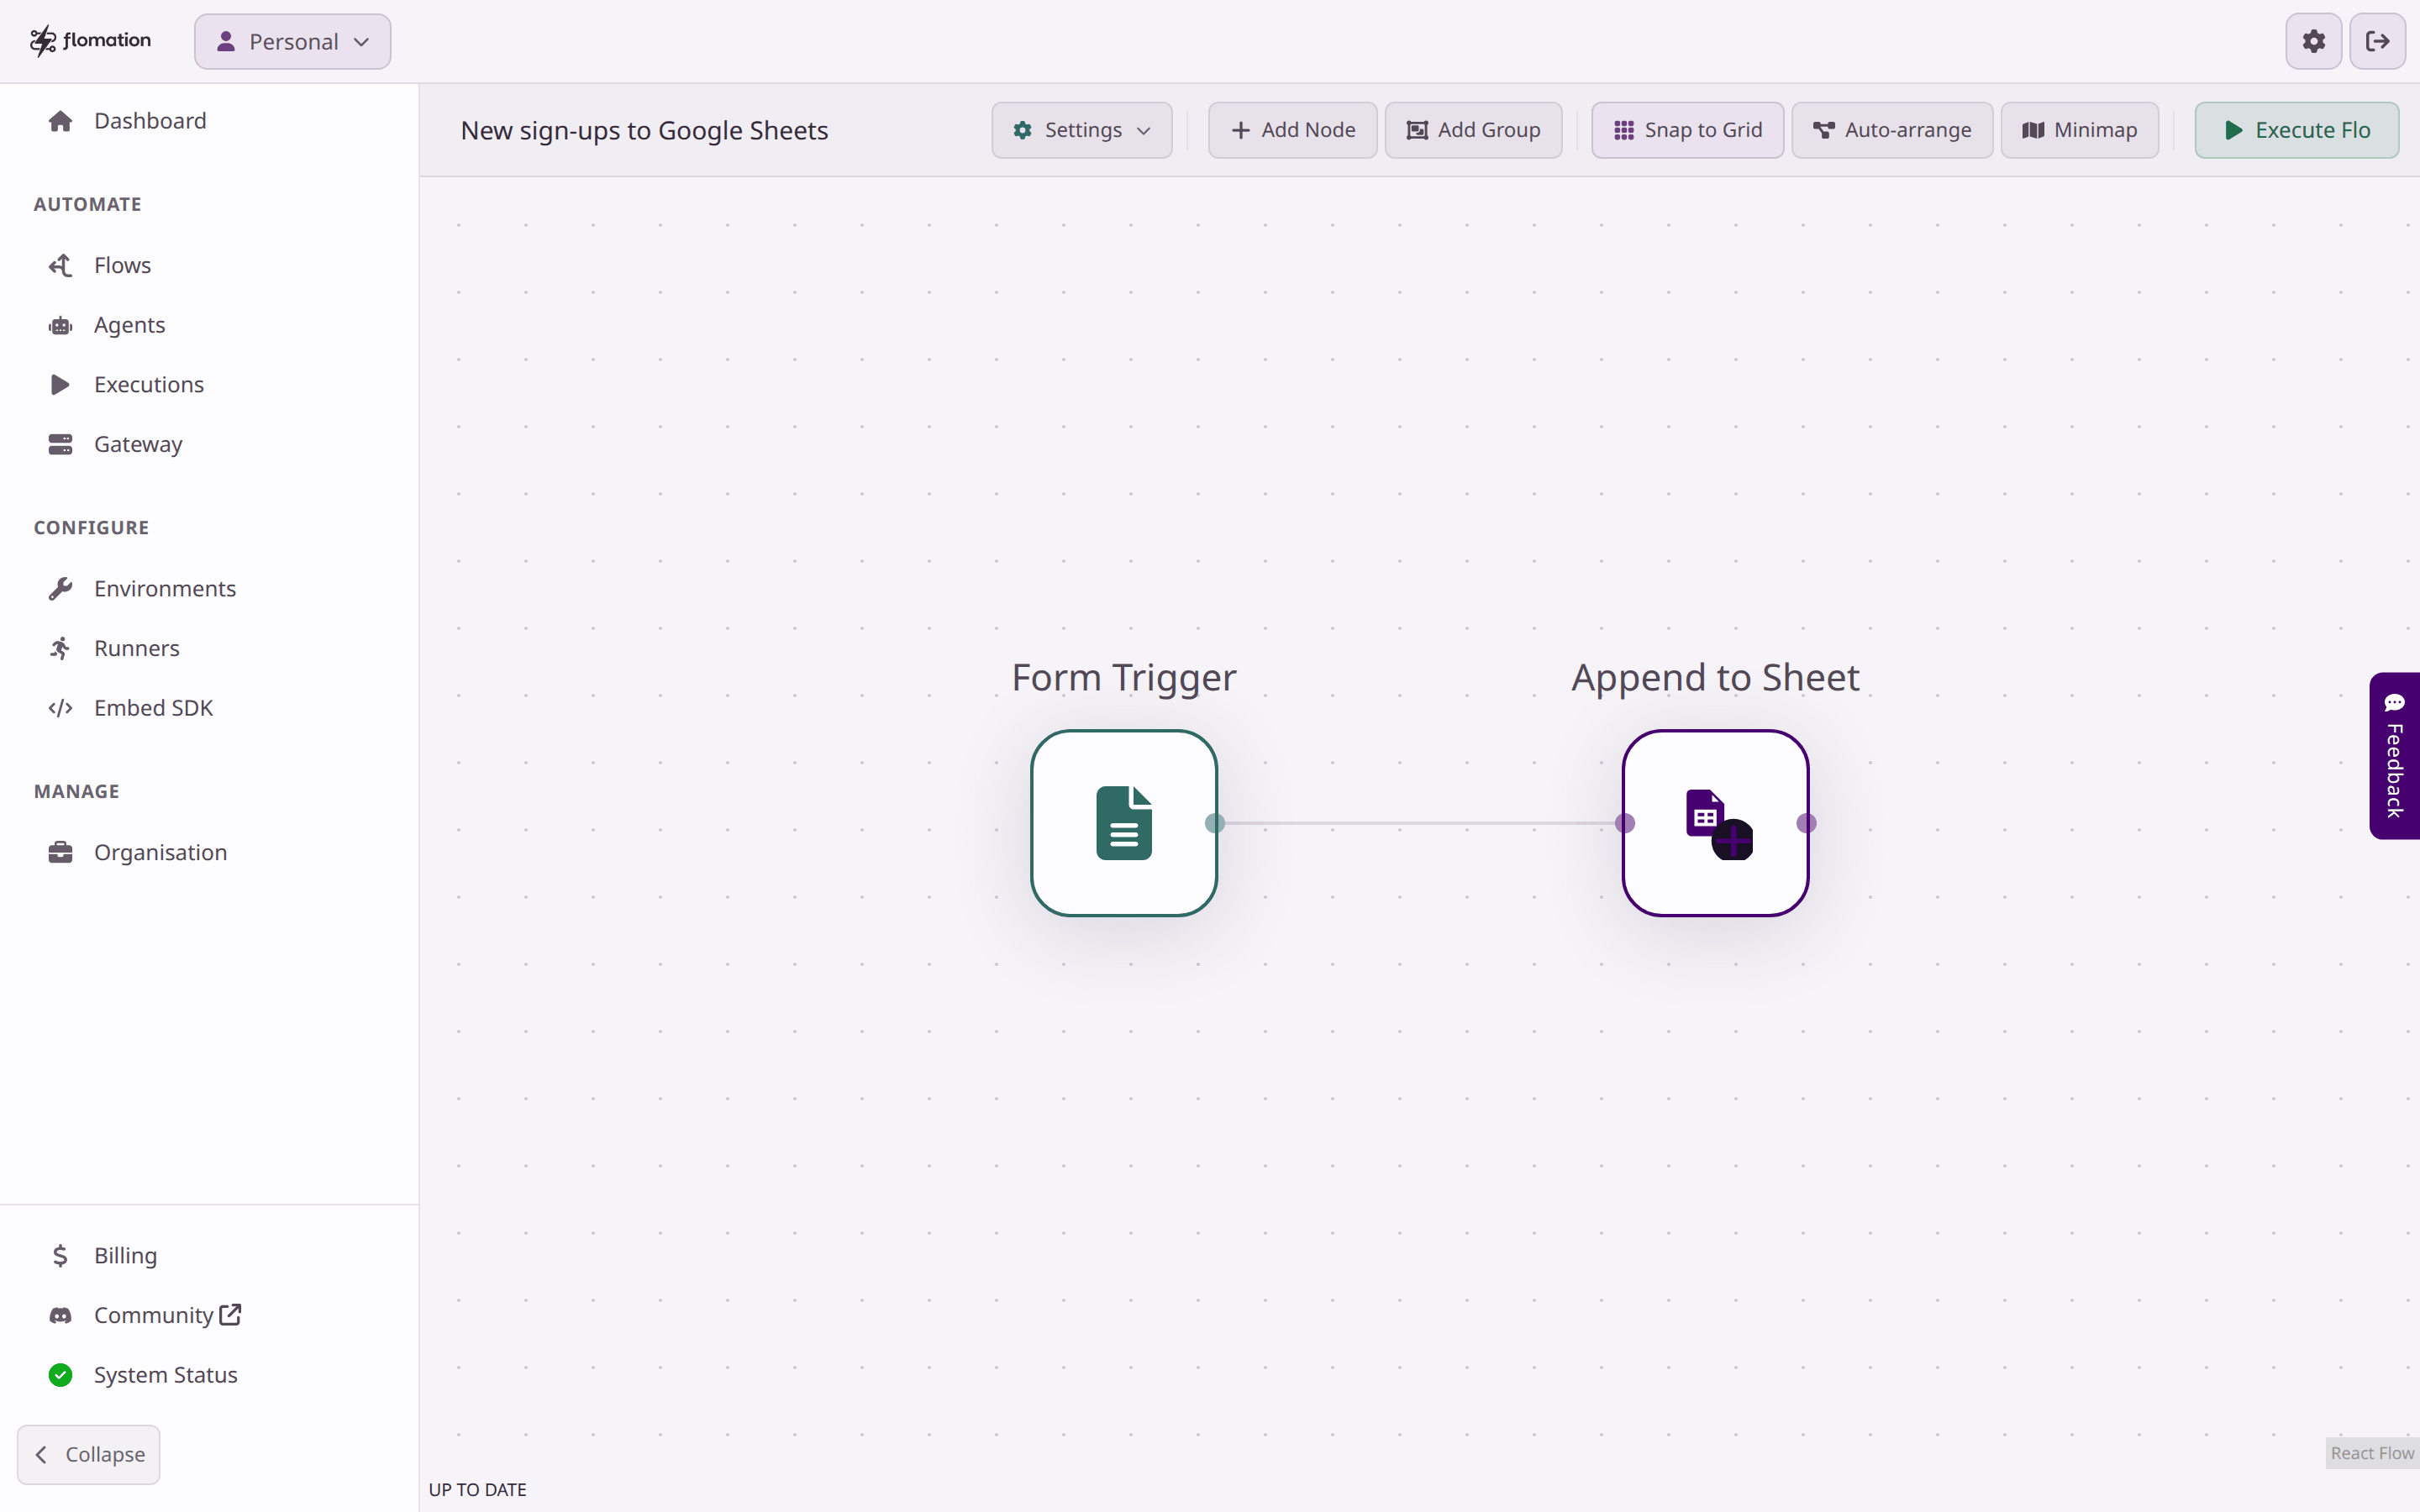
Drag from the small dot on the right of the Form Trigger to the dot on the left of Append to Sheet. A line joins them.
-
Tell it which sheet
Click Append to Sheet. Paste your spreadsheet's ID into Spreadsheet ID, and type the tab name, Sheet1, into Sheet/Range.
-
Fill in the row
Under Rows to append, click the first box and type
${followed by your. Pick your_name from the list. Click + Column and do the same for email_address. Click + Column once more, type${startand pick start_time, the time the flow ran. -
Choose your Google account
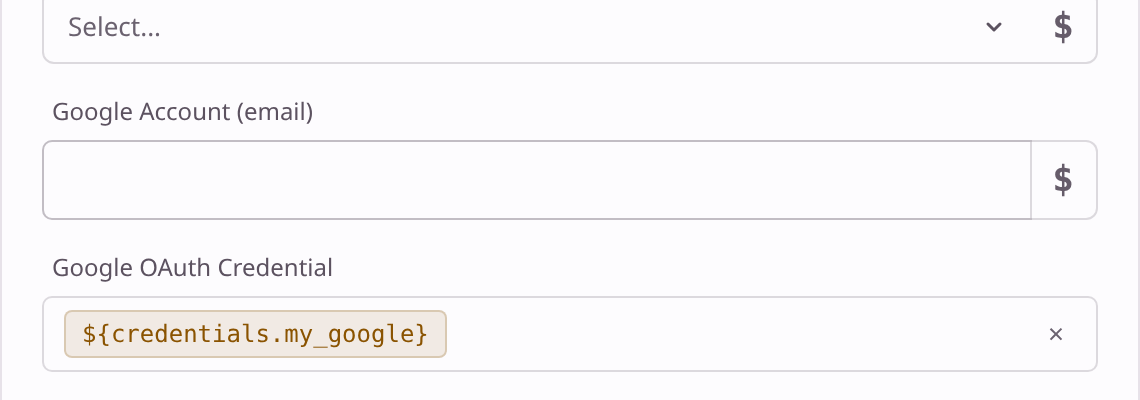
Scroll down to Google OAuth Credential, click Choose a credential… and pick my_google. Leave Google Account (email) empty: it's for a different kind of flow, and filling it in stops this one from using your credential.
A new step can land on top of another one. Click Auto-arrange in the toolbar to lay them out side by side before you connect them.
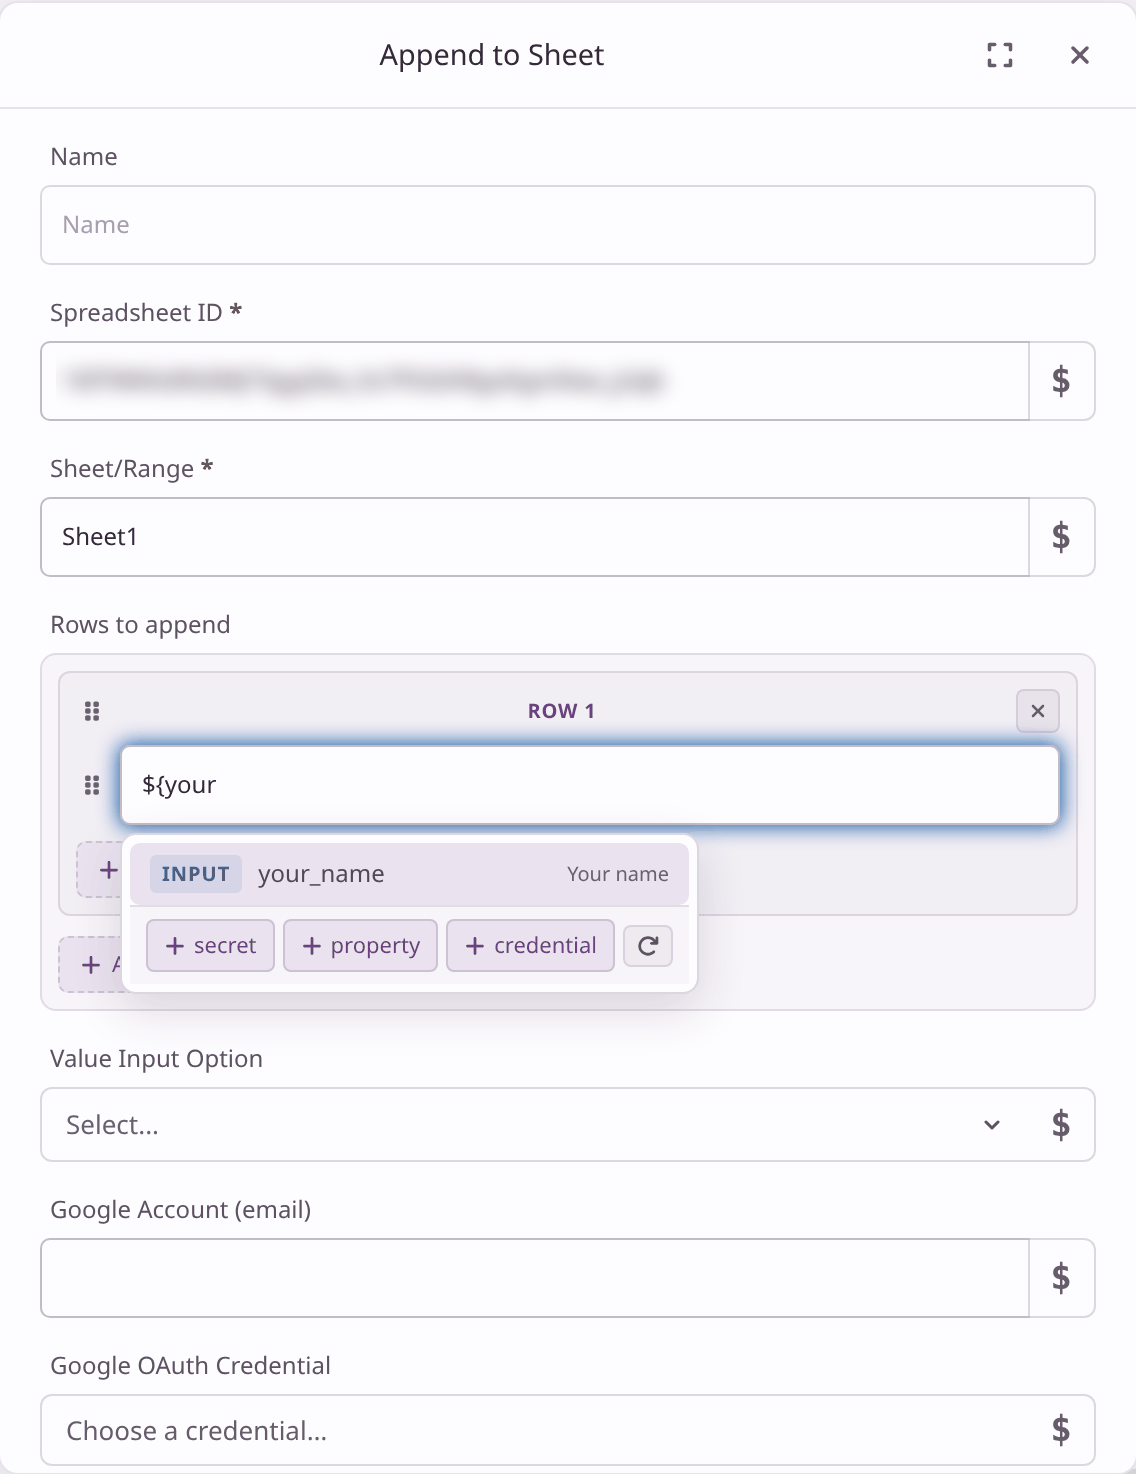
${ and a few letters to find the answer you want.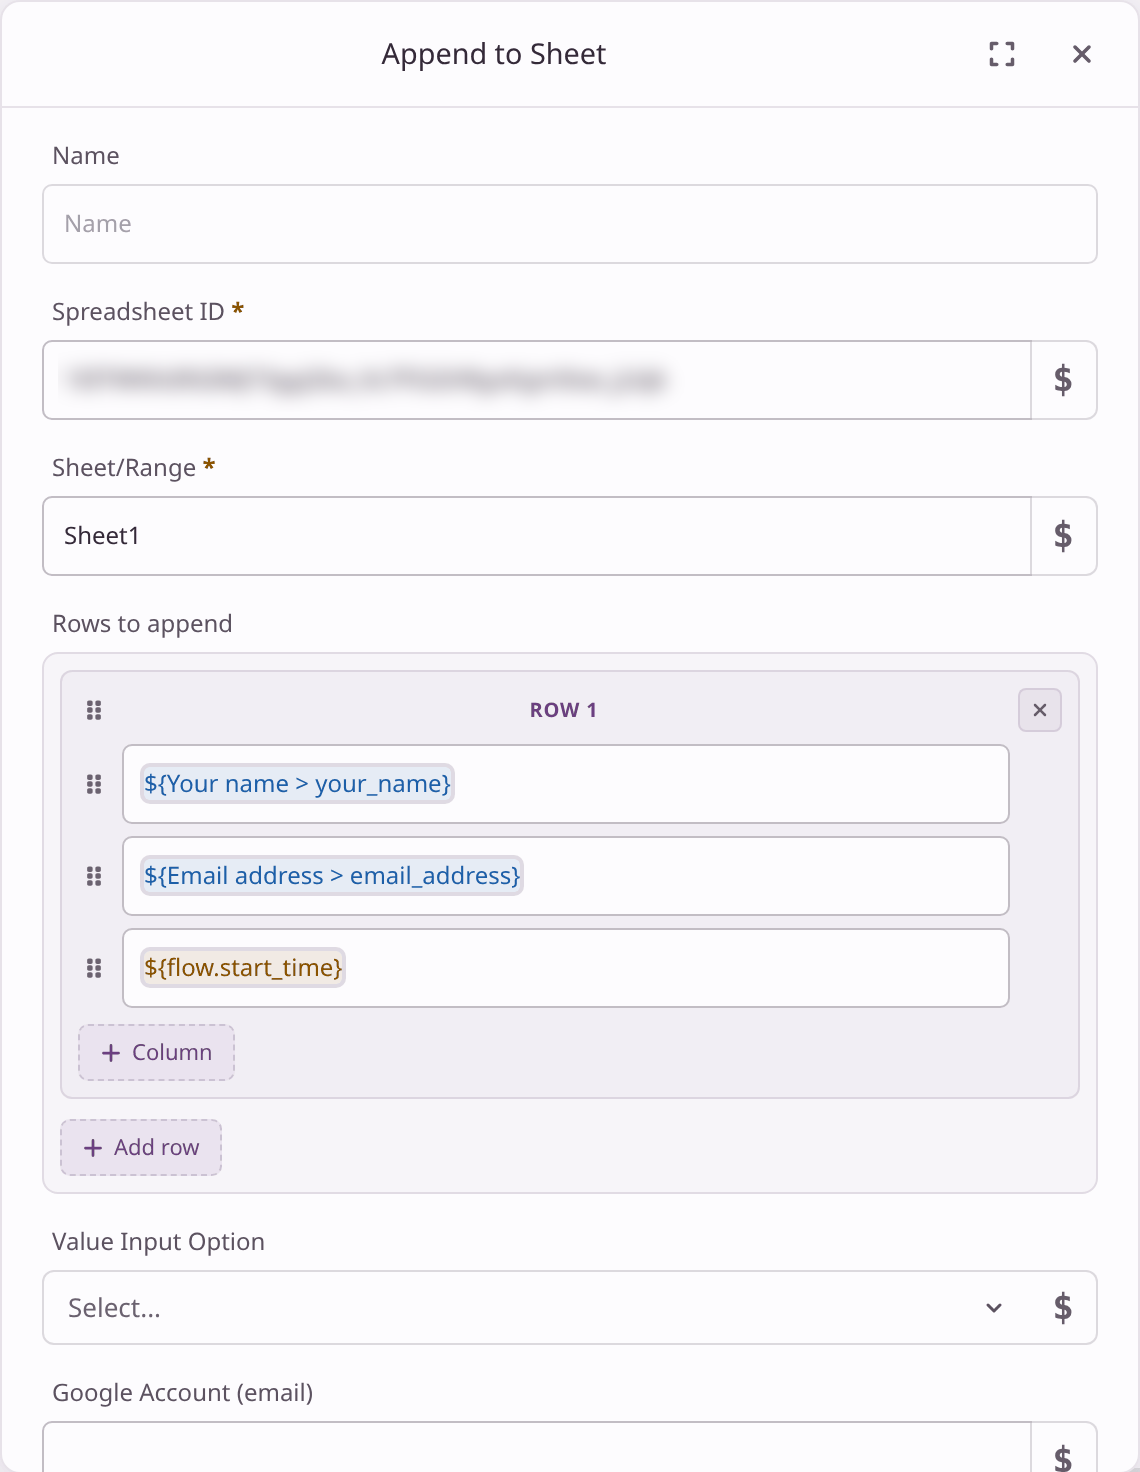
That's the whole flow: a form, and a step that writes each answer to your sheet.
06Test it
This flow starts from the form. Execute Flo runs it without any form answers, which adds a blank row to your sheet.
-
Open your form
Click the Form Trigger, copy the Trigger URL and open it in a new browser tab.
-
Fill it in and submit
Type a name and an email address and click Submit. You'll see Thank you! Your response has been submitted successfully.
-
Check your sheet
Switch to your Google Sheet. Within a few seconds a new row appears with the name, the email and the time.

The Signed up time is in UTC and a standard format, such as 2026-09-28T14:38:19Z. To make it friendlier, add a Format Date step; Pass information between steps shows how.
07See what happened
Find it: Automate›Executions
Every time the form is submitted, Flomation records the run, called an execution.
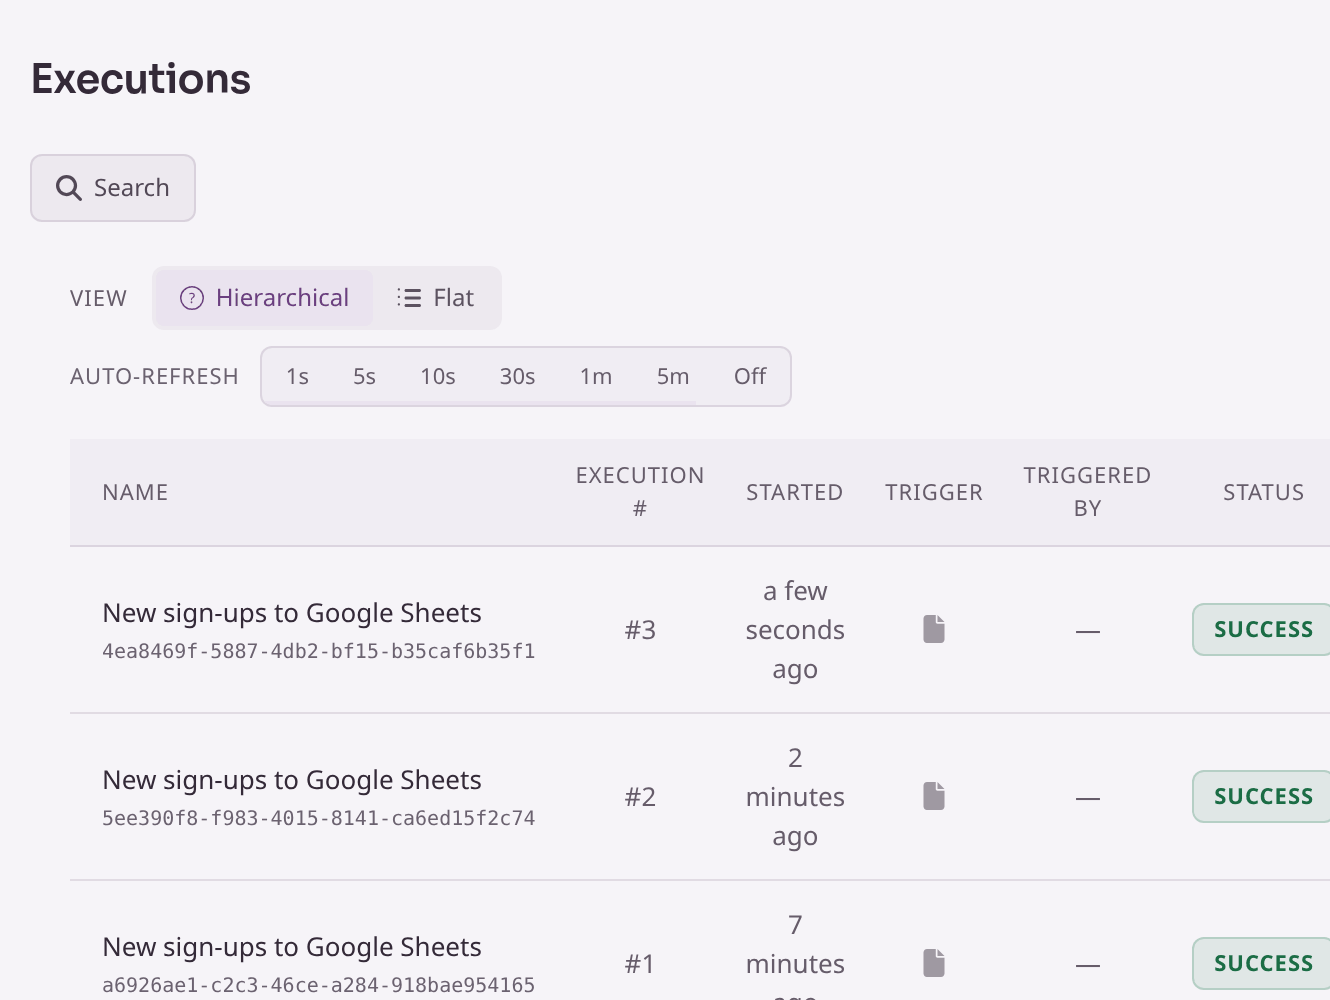
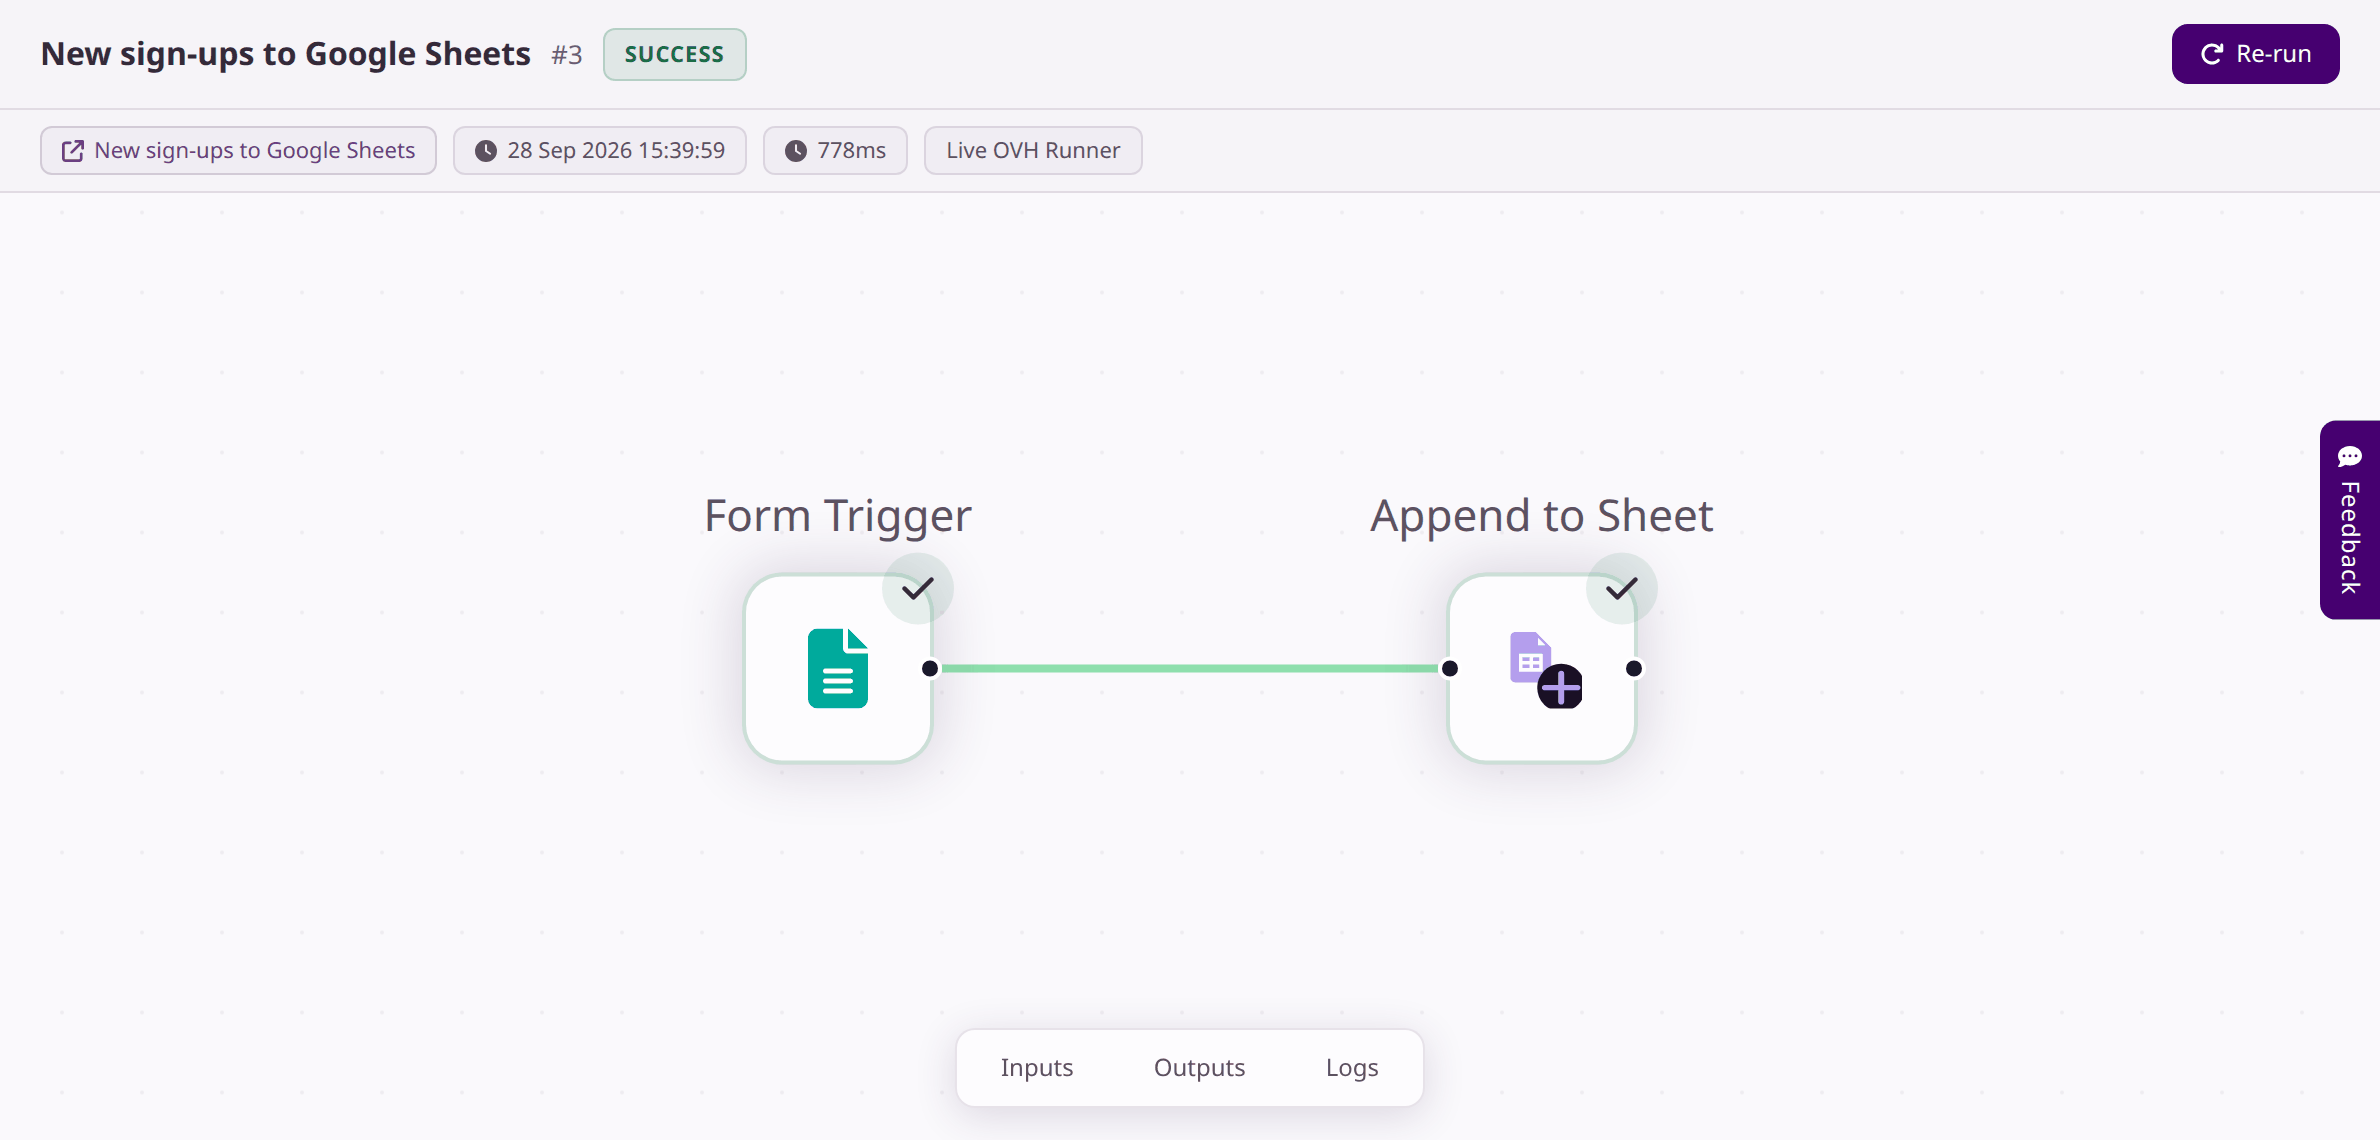
Click View on the newest run. Both steps show a tick, and the line between them turns green.
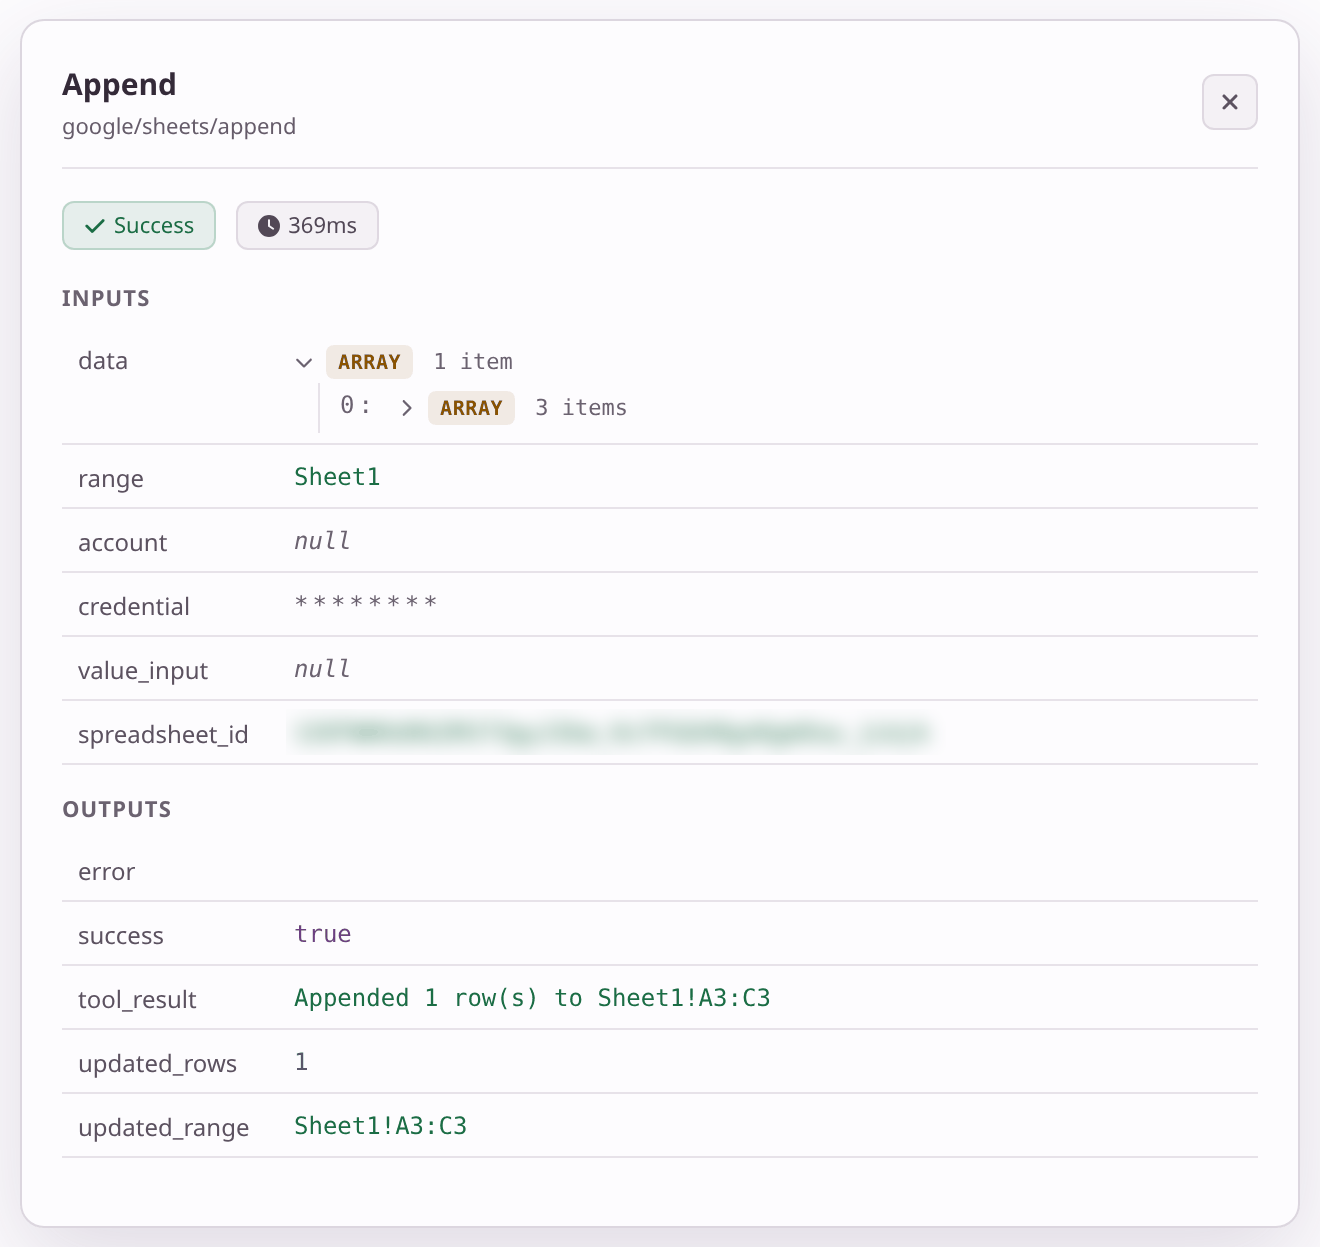
Click Append to Sheet to see exactly what it did. Under Outputs you'll see Appended 1 row(s) and which cells it filled.
By default, Flomation emails you whenever this flow succeeds or fails. To change that, open Settings›Notifications in the editor.
08Share your form
The Trigger URL is your form's public link, so you can share it however you like: in an email, a newsletter, a QR code or a button on your website. Below it, HTML Form Embed gives you code to put the form straight onto a web page.
Each submission adds a row to your sheet and shows up under Executions, just like your tests did.
09If something goes wrong
| What you see | What to do |
|---|---|
| The run says Success, but no row appeared | Open the run. If only the Form Trigger has a tick, the two steps aren't connected. Click Auto-arrange, then drag from the Form Trigger's right-hand dot to Append to Sheet's left-hand dot. |
| The run failed at Append to Sheet | Click the step in the run to read the error. Check that Spreadsheet ID holds only the ID, not the whole link; that Sheet/Range matches the tab name exactly; and that my_google is chosen. |
| The credential stays Pending | Reload the page first; it doesn't update by itself. If it's still Pending, the Google pop-up was blocked or closed early: allow pop-ups, then click the circular arrow on the credential's row. |
A warning on Append to Sheet says nothing produces your_name | Reload the page. The form's answers are there; the warning clears once the editor reloads. |
| A blank row appeared in the sheet | Execute Flo was used. Delete the row, and test with the form link instead. |
| There's no Environment option in Settings | Create an environment first. The option appears once one exists. |
10Next steps
You've built a flow with a trigger, an action and a connected app: the same pieces every flow uses. Some ideas for what to add next:
- Tidy the time. Add a Format Date step and use its result in the third column. Pass information between steps walks through it, including the one extra line you'll need.
- Tell the team. Add a Send Slack Message or Send Email step after Append to Sheet, so someone hears about each sign-up.
- Catch problems. Add an On Error step so you hear straight away if a row can't be added.
${.
Read it →
Running & monitoring
Check your runs and fix failures
Read a run step by step and get told when one fails.
Read it →
Last checked against the app on .